


In this project we will create our Node.js application using Jenkins, security using SonarQube,OWASP, image
Tool we will need in this project is :-
AWS EC2
Docker,Docker Compose & Docker Lab
GitHub
Jenkins
SonarQube
OWASP DC
Trivy
Prerequisites:
Before starting the project you should have these things in your system :-
Account On Aws
Account On GitHub
GitHub Reposetary
Part 1 : Initial Setup and Deployment:
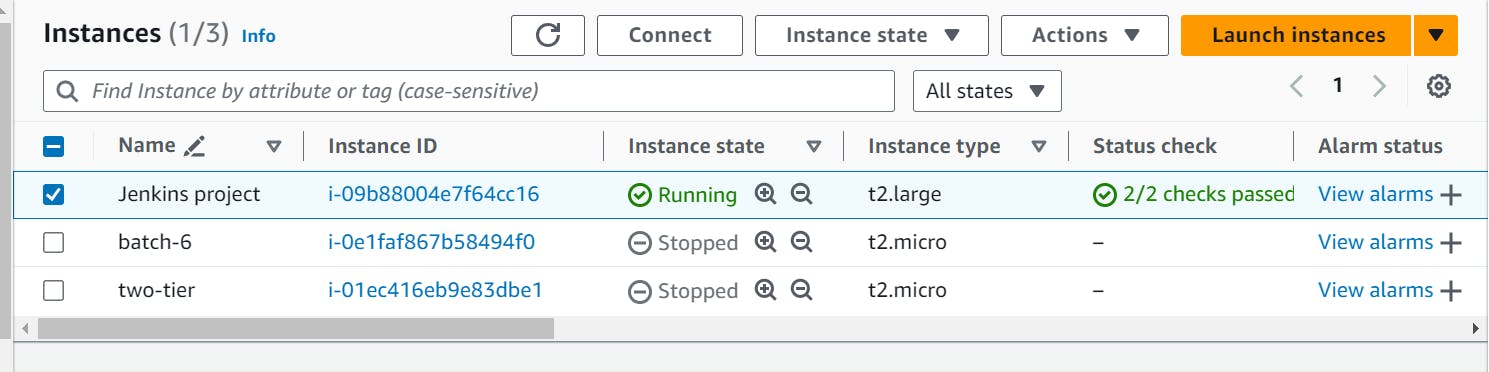
STEP 1: Launch Instance
Create AWS EC2 instance (t2.large)
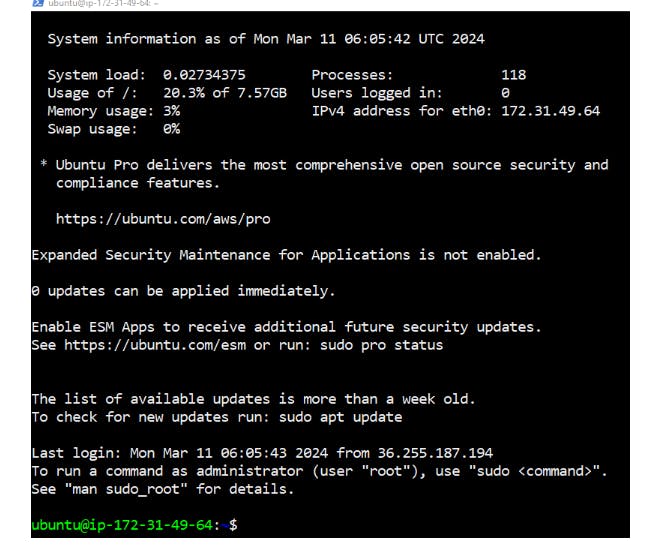
Connect to instance through SSH client to my local.
After successfully connecting to the EC2 instance, it will look like this
Part 2 : Setup Jenkins:
Now to install Jenkins, first we need Java install because Jenkins need Java so for to install Java use command :-
sudo apt update
sudo apt install fontconfig openjdk-17-jre
To check Java version use command :-
java --version
After installing Java, we will install Jenkins so for to install Jenkins use command :-
            sudo wget -O /usr/share/keyrings/jenkins-keyring.asc \
            https://pkg.jenkins.io/debian-stable/jenkins.io-2023.key
            echo deb [signed-by=/usr/share/keyrings/jenkins-keyring.asc] \
            https://pkg.jenkins.io/debian-stable binary/ | sudo tee \
            /etc/apt/sources.list.d/jenkins.list > /dev/null
            sudo apt-get update
            sudo apt-get install jenkins
            sudo systemctl start jenkins
            sudo systemctl enable jenkins
To check Jenkins status, use command :-
sudo service jenkins statusNow copy Public IPv4 address:8080 and we will be on Unlock Jenkins page.
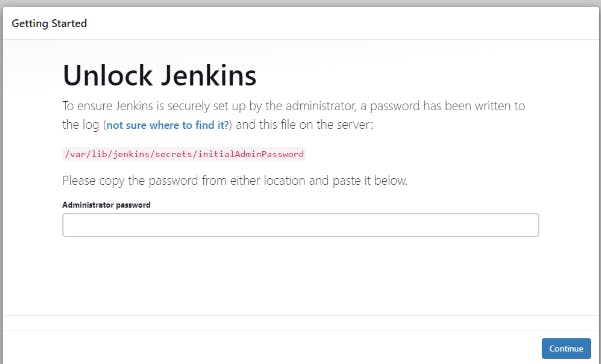
To unlock jenkins, use command :-
sudo cat /var/lib/jenkins/secrets/initialAdminPassword- And we will get our password. Copy and paste it to unlock Jenkins → Now click Install suggested plugins → Fill details → Welcome to Jenkins
Part 3 : Setup Docker and Docker-Compose
- Now to install docker and docker-compose use command as follow :-
    sudo apt-get update
    sudo apt-get install docker.io docker-compose -y
    sudo usermod -aG docker $USER
Also add jenkins to docker group for this use command as follow
            sudo usermod -aG docker jenkins
            sudo reboot
Check docker version use command :-
docker version
Now enable docker for this use command :-
sudo systemctl enable dockerPart 4 : Setup SonarQube
Now we will build SonarQube container for this use command :-
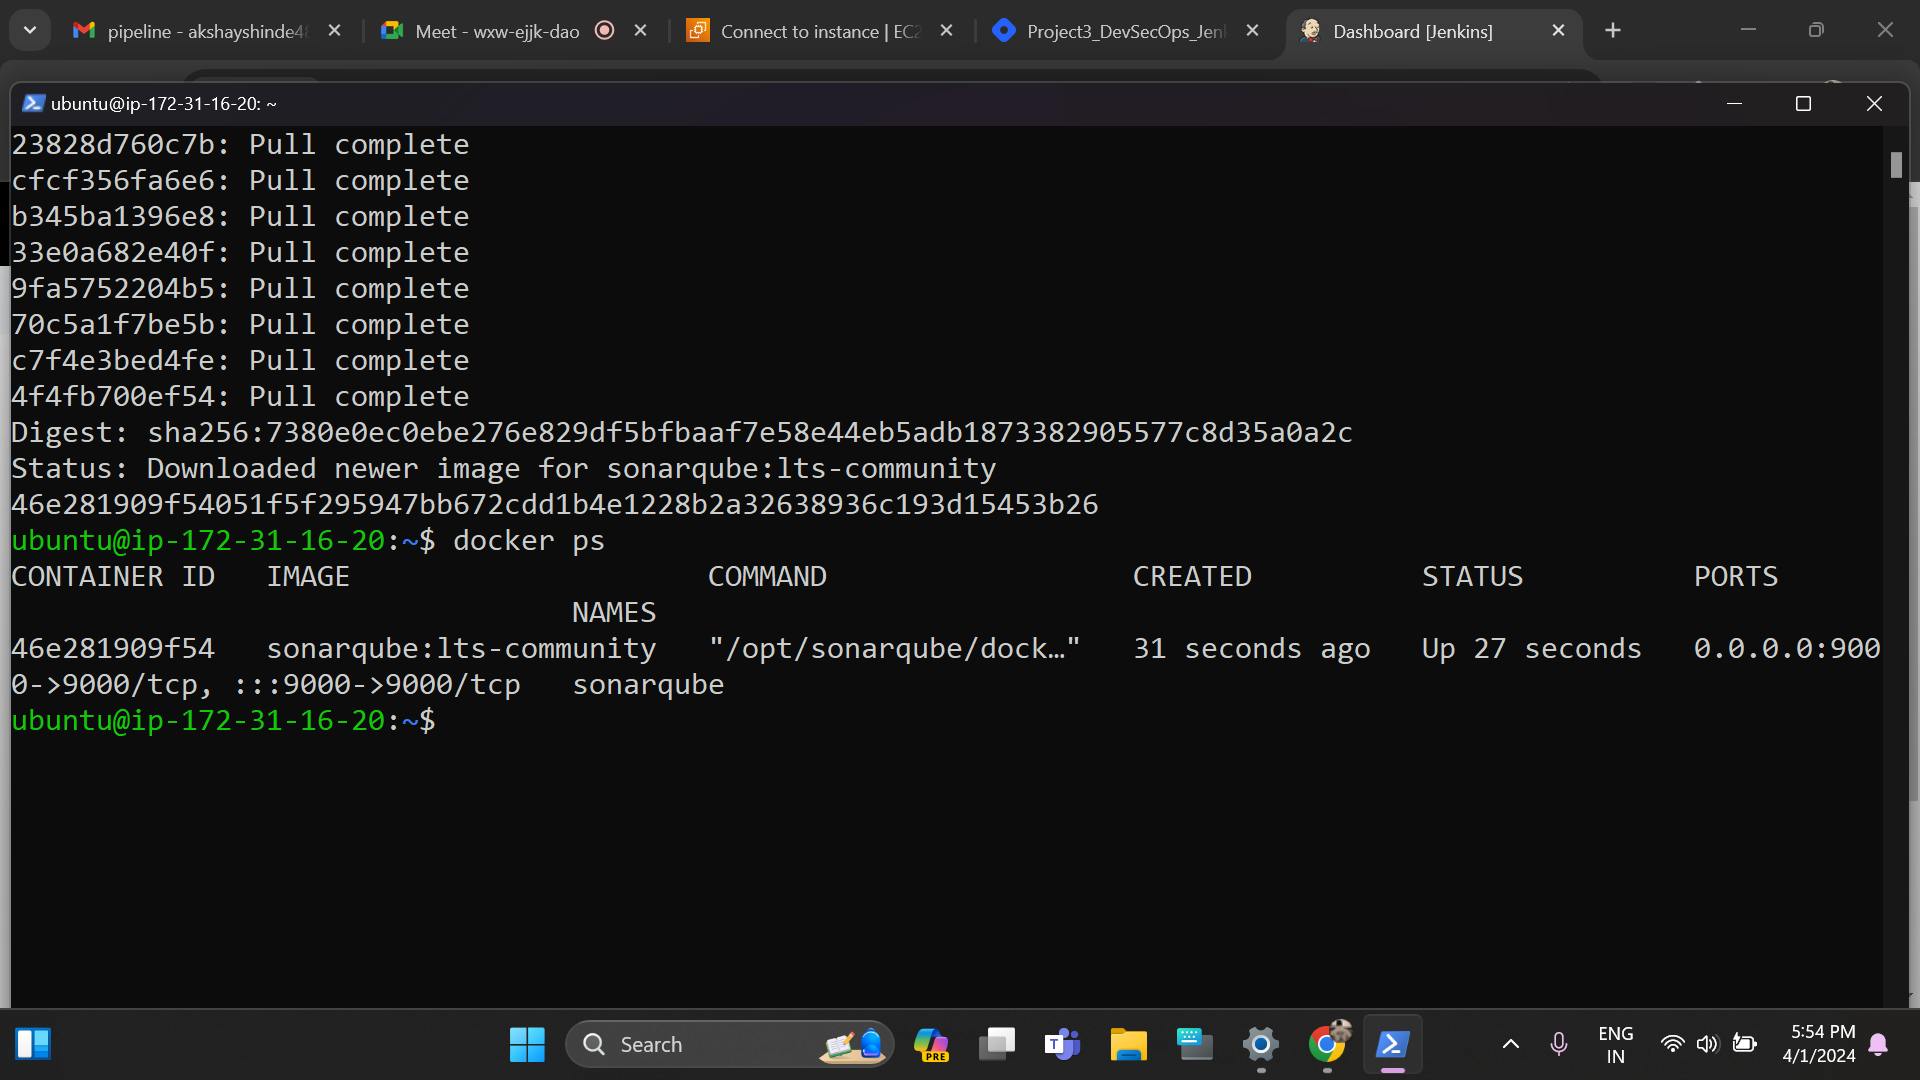
docker run -itd --name sonarqube -p 9000:9000 sonarqube:lts-communityNow if we will do docker ps so we will see our SonarQube container is running.
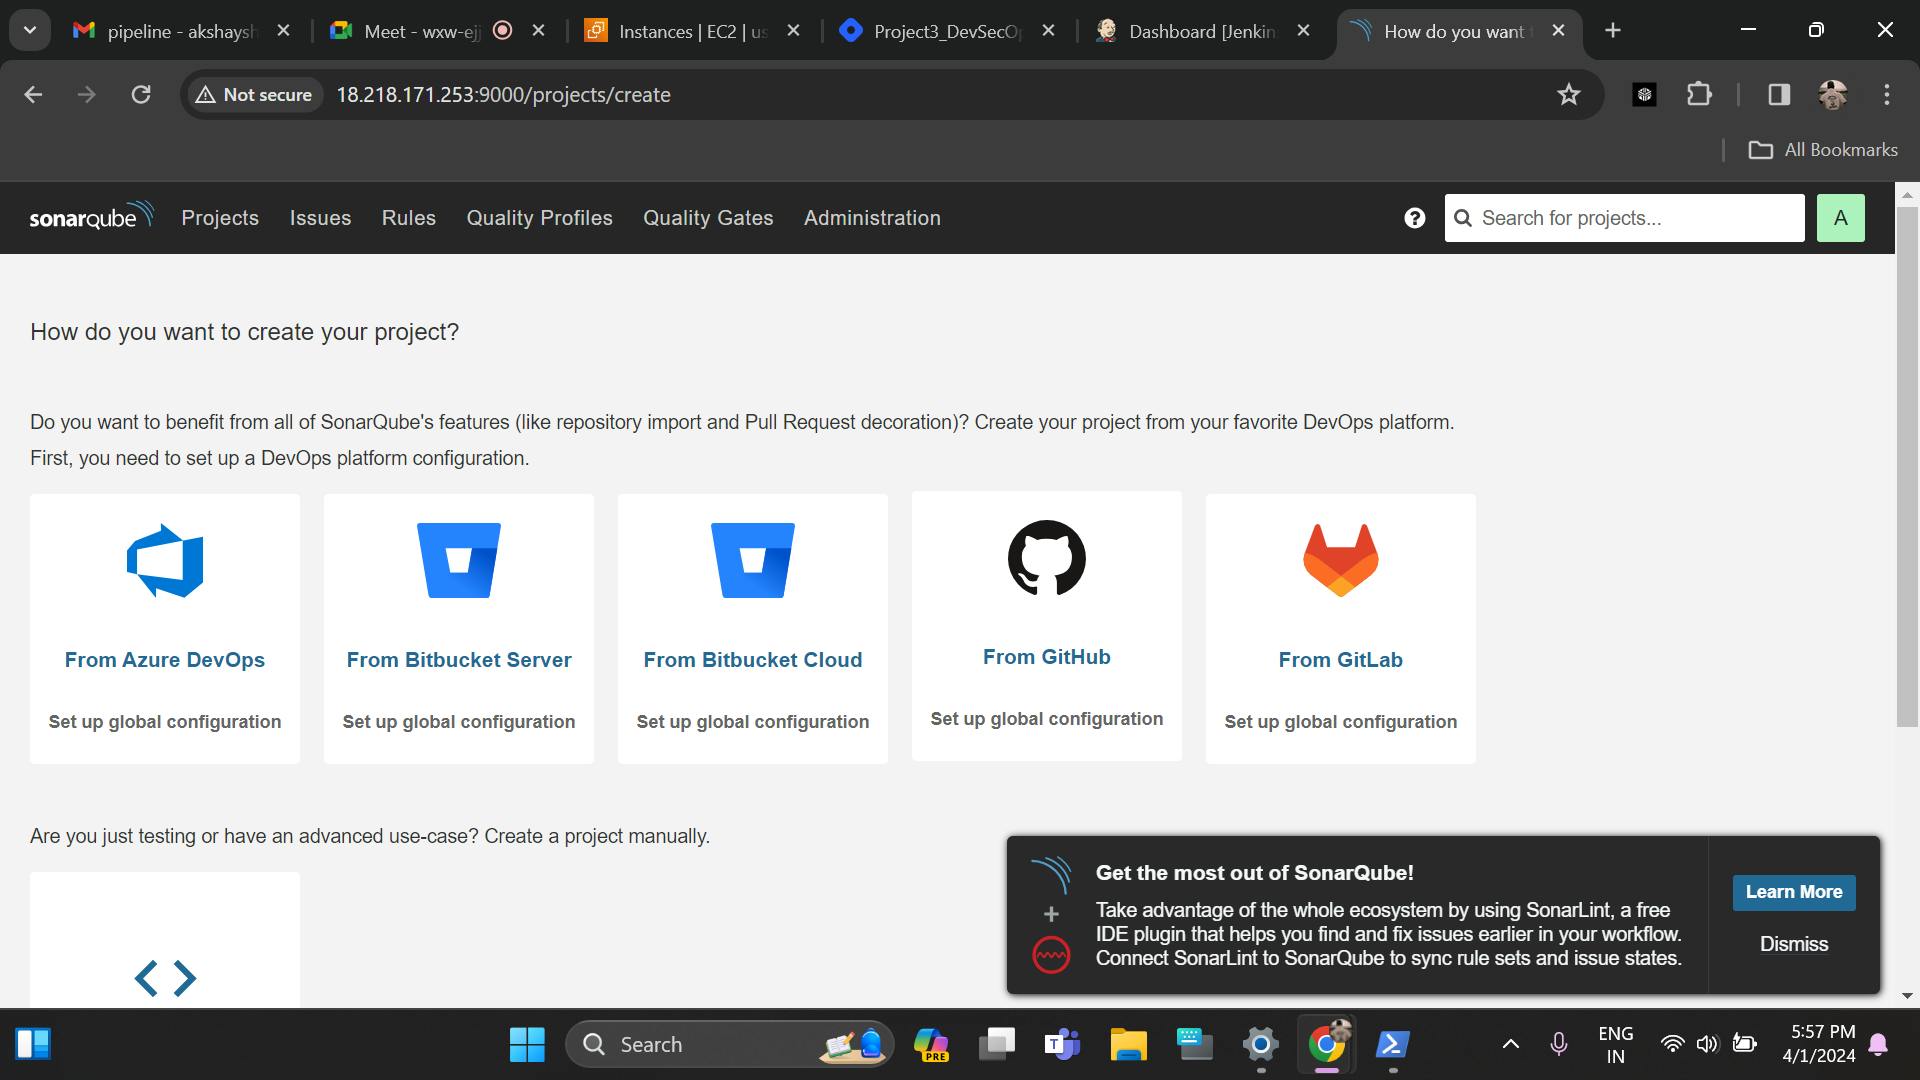
Now open port no. 9000 and copy Public IPv4 address and paste in new tab Public IPv4 address:9000 and we will be on Unlock SonarQube page.
Now enter login and password=admin and it will give us screen to reset our password and we will be on SonarQube page.
Now to make devsecops pipeline, we have create user on sonarqube and this user will have acces given to jenkins. To add user in sonar, Go to SonarQube → Administrator → Security → Users → Tokens → Update Tokens → name "jenkins" → Generate.
Our sonarqube setup done. Now to put sonar into jenkins we have to Install Plugins. To install sonarqube plugins Go to Manage Jenkins → Plugins → Available Plugins → Search SonarQube Scanner → install this plugin.
Now SonarQube token put in Jenkins → Go to Manage Jenkins → click on Credentials → System → Global credentials → Add Credentials → Secret text → in Secret put the token that we copied from SonarQube → ID "Sonar" → Description "Sonar" → Create.
Same as Sonar add Docker Credentials in Jenkins → Go to Manage Jenkins → click on Credentials → System → Global credentials → Add Credentials → Username with password → in Secret put your username and password of dockerhub → ID "DockerHub" → Description "DockerHub" → Create.
Now we will link our SonarQube with Jenkins, for this Go to Manage Jenkins → System → Find SonarQube servers → Add SonarQube → Name "Sonar" → Server URL "http://52.205.89.152:9000" → Server authentication token "Sonar" → click on Apply and Save.
We added our SonarQube Server to Jenkins.
Now to enable Sonar Scanner Go to Manage Jenkins → Tools → Find SonarQube Scanner installations → Add SonarQube Scanner → name "Sonar" → Version "latest" → click on Apply and Save.
Now we will create sonar webhooks. Go to Sonar → Administrator → Webhooks → Create → Name "jenkins" → URL "52.205.89.152:8080/sonarqube-webhook" → Create.
Part 5 : Setup Trivy
Now to install trivy use command :-
sudo apt-get install wget apt-transport-https gnupg lsb-release
wget -qO - https://aquasecurity.github.io/trivy-repo/deb/public.key | sudo apt-key add -
echo deb https://aquasecurity.github.io/trivy-repo/deb $(lsb_release -sc) main | sudo tee -a /etc/apt/sources.list.d/trivy.list
sudo apt-get update
sudo apt-get install trivy
Part 6 : Setup OWASP DC
Now same as SonarQube we have to install OWASP plugins Go to Manage Jenkins → Plugins → Available Plugins → Search OWASP Dependency-Check → install this plugin.
Now to enable Dependency-Check Go to Manage Jenkins → Tools → Find Dependency-Check installations → Add Dependency-Check → name "OWASP" → Install automatically → Install from github.com→ click on Apply and Save.
Now build a pipeline click on Create a job → give name "node-app" → select "Pipeline" → click OK.
Now add the script in Pipeline Script
            pipeline {

                agent any
                environment{
                    SONAR_HOME = tool "Sonar"
                }
                stages {

                    stage("Code"){
                        steps{
                            git url: "https://github.com/akshayshinde3/DevSecOps_ToDo_App.git" , branch: "main"
                            echo "Code Cloned Successfully"
                        }
                    }
                    stage("SonarQube Analysis"){
                        steps{
                           withSonarQubeEnv("Sonar"){
                               sh "${SONAR_HOME}/bin/sonar-scanner -Dsonar.projectName=node-todo-app -Dsonar.projectKey=node-todo-app -X"
                           }
                        }
                    }
                    stage("SonarQube Quality Gates"){
                        steps{
                           timeout(time: 5, unit: "MINUTES"){
                               waitForQualityGate abortPipeline: false
                           }
                        }
                    }
                    stage("OWASP"){
                        steps{
                            dependencyCheck additionalArguments: '--scan ./', odcInstallation: 'OWASP'
                            dependencyCheckPublisher pattern: '**/dependency-check-report.xml'
                        }
                    }
                    stage("Build & Test"){
                        steps{
                            sh 'docker build -t devsecops-todo-app:latest .'
                            echo "Code Built Successfully"
                        }
                    }
                    stage("Trivy"){
                        steps{
                            sh "trivy image devsecops-todo-app"
                        }
                    }
                    stage("Push to Private Docker Hub Repo"){
                        steps{
                            withCredentials([usernamePassword(credentialsId:"DockerHubCreds",passwordVariable:"dockerPass",usernameVariable:"dockerUser")]){
                            sh "docker login -u ${env.dockerUser} -p ${env.dockerPass}"
                            sh "docker tag devsecops-todo-app:latest ${env.dockerUser}/devsecops-todo-app:latest"
                            sh "docker push ${env.dockerUser}/devsecops-todo-app:latest"
                            }

                        }
                    }
                    stage("Deploy"){
                        steps{
                            sh "docker-compose up -d"
                            echo "App Deployed Successfully"
                        }
                    }
                }
            }
Now click Apply and Save → Build Now and our pipeline will build successfully.
Todo App Running in port No: 8000

Links🔗: